When buying a new cooker hood there are 9 fundamentals to consider.
1 - Extraction or recirculation?
Let’s be clear: Go for extraction! This is the most long-lasting and efficient solution.
A cooker hood to be used in recirculation mode is altogether noisier. With the appliance you rarely receive technical data measured in recirculation mode (the data is almost always measured in extraction mode only). And maintenance costs are high.
A recirculation hood simply filters the air through a metal filter and a sort of charcoal filter, and no external vent is needed. However:
- The filter will capture some of the grease but the rest will stay in your kitchen.
- The carbon filter will partially remove odours for a short time but will then need to be cleaned or replaced.
- A hood that simply recirculates the air is unable to deal with the moist air created by your cooking.
2 - Extraction Power
In the interests of saving energy, cooker hoods may now extract a maximum of 650 m3/h at full power. This is the legal limit. Manufacturers may add a more powerful boost function but it may only be activated for a few minutes, during which it extracts up to an additional 100 m3 of air.
A hood offering the most powerful extraction capacity will have:
- a maximum power setting of around 650 m3/h
- a boost function of 1000 m3/h
- multiple power levels including a low minimum level
For a less pricey model destined for a smaller kitchen, this rule of thumb gives you “minimum extraction requirements in m3/h”: calculate the volume of your kitchen and multiply it by at least ten (i.e. the length in metres x the width in metres x the height in metres x 10).
Remember that diameter and length of the tubing, and the number of 90o corners around which the air has to pass, are key factors that influence extraction efficiency. We recommend using 150mm-diameter tubing and keeping it as short and straight as possible.
3 - Noise
Cooker hoods judged to be ‘silent’ emit as little as 30 dB(A) on ‘minimum’ power and 55 dB(A) on maximum. As a point of reference, the decibel level of normal speech is 60-65 dB. The noisiest cooker hoods emit 70 dB SPL or more.
To obtain a meaningful noise level comparison for two cooker hoods, you first need to ensure that both have more or less identical minimum and maximum air extraction capacities.
Depending on the interpretation method used, an increase of 3-6 dB will double the perceived noise level. By doubling the distance (1-2-4-8…. metres) from the noise source you halve the perceived noise level. Good to know when deciding where to position your dining table.
Noise levels of hoods are always measured at a point 1.3 metres from the centre of the hood. The recently updated IEC standards define this precisely and all manufacturers use this method.
Other important features to consider when choosing a cooker hood
4 - Width: Your hood should be wider than your stove. As a general rule, we recommend a hood is 1.5 x the width of the cooking area. A free-hanging hood over an island should be twice as wide as the induction hob.
5 - Height: Always respect the manufacturer’s recommended minimum. Ensure you mount your hood sufficiently high. Allowing plenty of head room while you cook avoids any potential discomfort to your neck or your back.
6 - Lights: LED light sources are the best solution. Try to assess whether the hood’s lights are angled correctly for you, otherwise you risk being dazzled.
7 - Cleaning: Filters need to be easily accessible. Grease should have as few places as possible to gather, both inside and outside the hood. Brushed stainless steel is attractive but greasy finger marks do show up more easily. Similarly, dust is more visible on a glass canopy than on an opaque one.
8 - Features: A delay button with an automatic stop function is useful. A filter alarm is highly desirable.
9 - Cooker hood types
The two major hood categories are design hoods that are clearly visible versus integrated hoods meant to be more or less invisible.
Ceiling hoods and down draft hoods represent a mix of the two: invisible + design! Be aware that as attractive they may be, your expectations regarding their performance as hoods should be lowered. See below.
Visible ‘design’ hood types

← Wall hoods
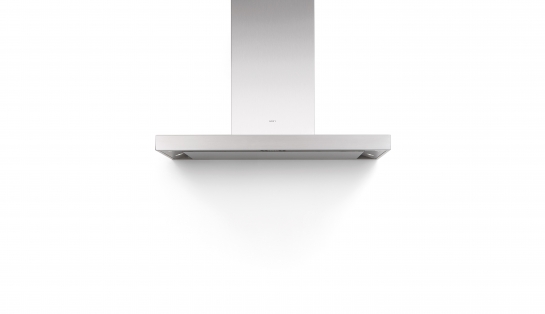
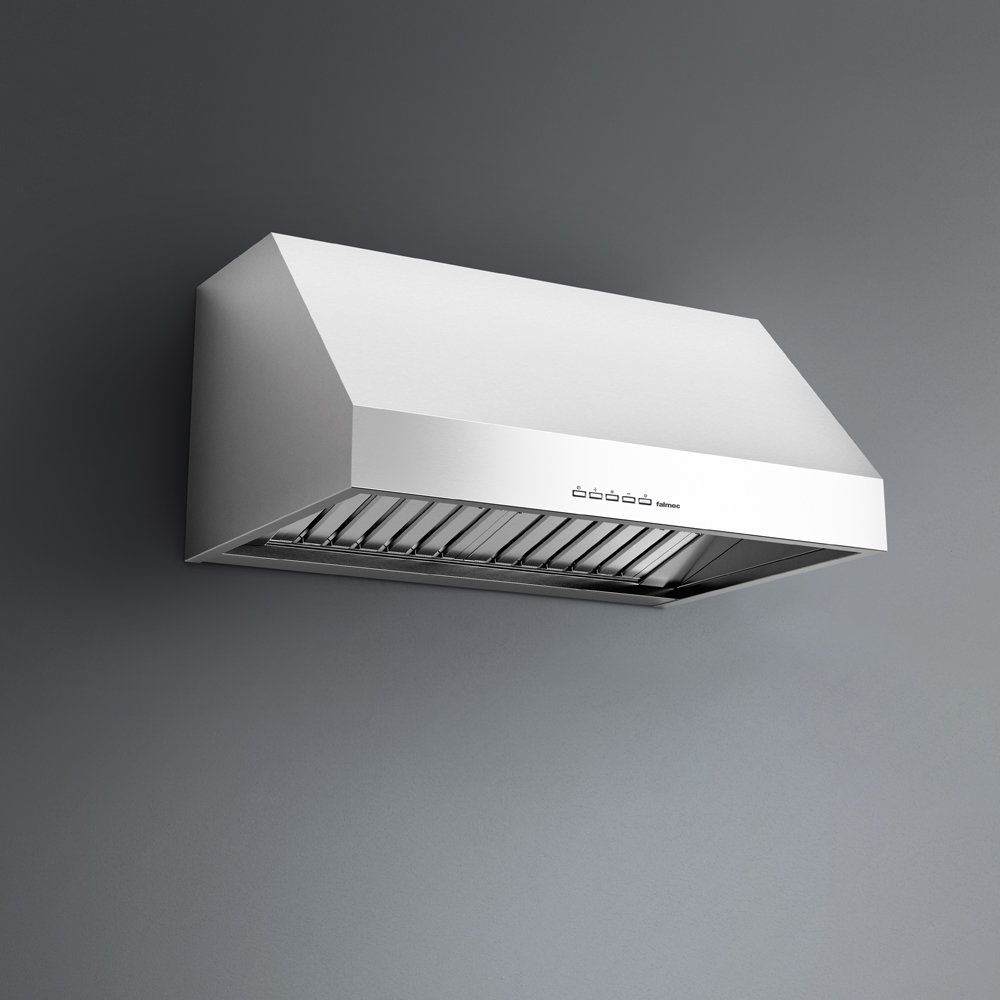
Chimney hood or T-shaped (up-side down) hoods are excellent, capturing the air in a natural way. Being wall mounted, ducting is generally uncomplicated making air extraction easier. They come in all kinds of materials, shapes and sizes and can also be fitted into a corner.
| PROS | CONS | |
|
|
Take a closer look at the wall mounted hoods right here.
 Vertical wall hoods →
These hoods are elegant and efficient. They combine ‘wall-mounted’ advantages with clever design.
| PROS: | CONS: | |
|
|
Does a vertical type of hood sound right for you? Then use our NeutraTEST Score to find your model!
 ← Island hoods
Free-hanging hoods have three drawbacks. Firstly, they are generally about twice as expensive. Secondly, they have no wall to funnel the air thereby losing about 1/3 of their efficiency. Thirdly, ducting air to the outside is often very complicated (and an air recirculation alternative is undesirable).
PROS:
- Your design choice will strongly influence the look of your kitchen.
CONS:
- Expensive - an island hood often costs almost the double of a similar wall-mounted model.
- Not very efficient, neither when ducted to the outside nor in recirculation mode. Without a wall to guide the air, approx. 30% of efficiency is lost. You need to increase extraction by almost 50%.
- Quite often it is a rather cumbersome mounting, especially if you choose an extraction model.
- An island hood prives you of light and an unobstructed view.
The free-hanging hoods are sorted by best-in-test right here!
Built-in "discrete" hood types
 ← Conventional extractor with visor
This classic hood is cheap and lacks power. It can be fitted under a kitchen cupboard or simply mounted in stand-alone fashion onto the wall.
PROS:
- An inexpensive solution, easy to install.
CONS:
- The least efficient hoods on the market.
Click here if you want to choose a conventional extractor, quickly and easily!
 Telescopic pull-out hood →
This is semi-integrated and almost invisible when not in use: only the 5-8 cm front panel can be seen. Some pull-out hoods offer an excellent ratio between price, look and performance.
PROS:
- A rather discrete solution.
- Often very good value for money. But now always. Use our NeutraTEST Score to guide you.
CONS:
- Your cupboard space is taken up by your cooker hood.
You will find a list of telescopic hoods sorted by performance right here!
 ← Canopy hood
This high-performance range hood is built-in from below into an overhead kitchen unit. It is invisible, potentially very powerful, and if mounted with care quite silent. Of all hoods on the market, this type generally has the best ratio between price and performance.
PROS:
- A discrete solution, unobstructed view of the cooking zone.
- Probably the best value-for-money-kind-of-cooker hood. With our NeutraTEST Score to guide you, it is easy to choose.
CONS:
- Requires a built-in kitchen cabinet or a stand-alone DIY solution.
The built-in hoods are ranked here right here! Go for one with a good NeutraTEST Score.
 Cupboard extractor →
This is a sub-category of canopy hood where, to turn the hood on, you simply pull what appears to be the front panel of an overhead unit towards you. This is design at its best, sadly too rarely used. Overall, performance needs to be improved for these hoods that to-date have been rather neglected by the manufacturers.
← Ceiling hood
With this hood type only the front plate is visible. It is located somewhere in your ceiling above your hob. In other words, it is not a hood as such, but rather it increases ventilation.
A ceiling cooker hood is not a possibility in every kitchen: can the cooker hood be integrated into your existing ceiling and where should the motor be? The test standards are unclear as to how accurately present the performance of ceiling hoods: With the exception of down draft extractors all cooker hoods are tested 60 cm above the hob. For a ceiling hood this method exaggerates the real-life extraction and filtering performance, and overstates the noise level.
| PROS: | CONS: | |
|
|
We have evaluated ceiling hoods from many manufacturers right here. Use the "search box" if you wish to compare hoods from one specific brand.i har vurderet loftsemfang fra mange fabrikanter lige her!
 Downdraft extractor →
A work top extractor sucks the air downwards. It is hidden in the cupboard below the cooker.
It can either come as a cooktop with an integrated extractor or be installed next to the hob where it pulls the air to the side.
One speaks of creating a cross flow of air. A tabletop kitchen extractor can more easily pull steam sideways and downwards from lower pans, than from high ones. As it was noticed not long ago by an observant user ;-).
Some down draught extractors - as we would call them in a purely British context – are elevated when in use to get closer to the steam.
Down draft has a similar attraction to the vertical head-free wall-hanging extractor: it's nice to cook with a full view of your pots and pans!
Gaggennau was the first to market down draft, and Bora has made integrated and modular down draft extractors their specialty.
Whether it is a built-in extraction with the hob or a stand-alone down draft solution, these new downward extractors have the wind behind them.
PROS & CONS:
The advantages of down draught are headroom, invisibility and an attractive design.
The disadvantages of hob level extraction are:
- the frequent (daily) cleaning,
- the somewhat contradictory design of pulling the air downwards,
- the price and the room it takes up in the cupboard space.
The EU regulations for extractor hoods, which only allows 650 m3/h to be extracted, also constitutes a limitation, in particular for the down draft hoods as they work against the natural air flow.
The downdraft extractor is for those who for ex. cook on an kitchen island but wish an integrated and minimalist look – and are ready to pay a rather high price!


